I had come to the point that I had suffered enough.
For many decades now I have yearned for the first slice of fresh homemade bread. Slightly warm from its first cut. The smell of the kitchen, the taste that just can’t be found in a bakery or store.
Sure, they have professional chefs, all the modern equipment, and more. Institutional knowledge that can’t be competed with. Certainly not by someone barely able to make toast.
Despite all of the advantages the professionals possess, they still lack the prime missing step. The taste that isn’t quite there. The crust that lacks character.
None of them can compete with the bread hand rolled with a missing handled rolling pin wielded by Mom.
It isn’t just my mother, ask anyone older, they will nod their head, go glassy eyed for a second and echo my sentiments.
It is this quest that I have taken and offer this guide to other men that are unwilling to rest their elbows on the table and dream.
The recipe or recipes for bread are basically all the same, flour, water, yeast, salt, maybe a little sugar…..bake and cut. Find your own, it really doesn’t mater what.
There is going to be a little preparation before we get into the weeds here gentlemen. Notes might be in order.
You are going to have to make a trip to the grocery store.
In your kitchen currently, your wife will have something called All Purpose Flour. She will try and convince you its all the same. “See ….it says ALL PURPOSE!” Avoid this conversation. You won’t be able to win and it will only increase the micro management.
Put on your list Bread Flour. It is like the above flour she uses for cookies, treats etc, yes bread too, but it is specifically for bread. Higher protein, other things that I haven’t got a clue what they do….but it says Bread Flour on the bag and you are making Bread. Kinda like buying bags of cement. Kinda. It will be on an aisle with fifty different bags of flour. Even a bunch of Bread Flour. Buy the cheap stuff, ignore the boutique. If you can’t find the flour aisle, ask one of the ladies pushing carts…..they will know. Mom would never spend the money on that hipster stuff. Remember the goal.
One last bit of advise. Prior to buying the flour, make sure you have a container to pour the flour into when you get home for storage. Something with a good lid. Even buy something at the store that will fit the purpose as any suitable container in the kitchen will already be spoken for in some fashion that you will not understand. Having to root around in the kitchen too much making noise pulling things out from all of the cabinets isn’t something you want to be doing after sneaking into the house with a bag under your arm. Quick and clean gentlemen. Quick and clean.
You will also need Yeast. Yes, there will be little square packets of yeast in the kitchen. They will be expired. Again, avoid the conversation. Get your own yeast.
Done with the grocery store, its time to head home and prepare.
As quietly as possible, start to assemble things like measuring cups, those little spoons that measure things, big bowls etc. Pay extra attention to those measuring spoons, they are confusing. Anything that you might think you will need. Important, DO NOT ASK WHERE SOMETHING IS. It will devolve into a larger conversation.
We are almost ready to begin. At this point I suggest taking a look at the stove. How to turn it on, set the temperature. Next to the stove someplace close, check the little drawers first, will be those little pads that keep you from burning your fingers when picking up hot pots. They probably have a name, I just don’t know what it is. Oh! Something I discovered, there is a button that turns on a light inside the oven. Who knew? Look for one.
At this point, if you have been successful, you have your ingredients lined up, containers ready, and a construction plan. Most importantly, you are undisturbed. However, that is about to change and you need to be prepared.
I suggest exerting a “happy mood” in the room, try and nip all negativity in the bud. DO NOT MENTION MOM AND HER BREAD…..that is just between us. Any bread she has ever made was wonderful. Keep that thought handy.
She will enter the kitchen suspicious. Her things have been disturbed. You are not in the right place. At this point your preparation will come into play. Begin mixing your water, yeast, sugar, salt confidently. Leave no room for input. Perhaps even going as far as using a whisk muttering about wanting an even distribution for the rise. A spoon would do just fine, but this gives the impression that you know what you are doing. Allow the mixture to mellow a bit pretending to be looking for bubbles.
At this point her concern will begin to ease, replaced by more of a wonderment rather than expectation of dread. Most likely, she will sit at the kitchen table, pretending to be busying herself with some odd task. Remember, we are trying to avoid removing her from the kitchen, so taking the time here will lesson the chances of needing to take action later.
Start mixing in the flour, but by bit. Forget the whisk. It fills up will little clumps, you used it on the liquid and scored points already.
You now have a clump of bread dough. Lets get to work.
This stuff is a sticky mess. Your hands get covered with the stuff. DONT WASH YOUR HANDS YET! This will only bolt her off of the kitchen chair you will hear about bread dough clogging the kitchen pipes. Instead, pull off some paper towels, get your hands wet and get most of it off of you. Maybe even pro actively stating something about not wanting to clog the pipes as you scrub your hands. Remember……keep her in the chair.
Your recipe will call for as much as ten minutes of working the bread dough. Folding, you know, Im sure it has a name. And here gentlemen, is the first step in following dear old Moms baking.
No way was Mom standing there at the counter pounding that mass of sticky bread dough for ten minutes or longer. Not with kids running around the house and everything else going on. Mom would have pushed it, pulled it a bit, maybe for a minute or two, plopped it into bowl and left it somewhere warm to rise. Ten to fifteen minutes…..right. Maybe in hipster bakeries with a hemp apron, not in Moms kitchen.
Another thing I remember from a good 60 years ago was mom always spritzed the little towels she put over the bowl the dough was rising in. I don’t know why, but she did. Ive never seen my wife do it, so I did it.
Im assuming everything has gone well up to this point. You were prepared, confident, and are beginning to feel in control of the process. Hopefully the conversation in the kitchen is becoming pleasant. Talk of making dinner rolls next, etc. Make sure at this point to start cleaning up, there won’t be much of a mess. Don’t give her a reason to leave the chair. No good will come of it.
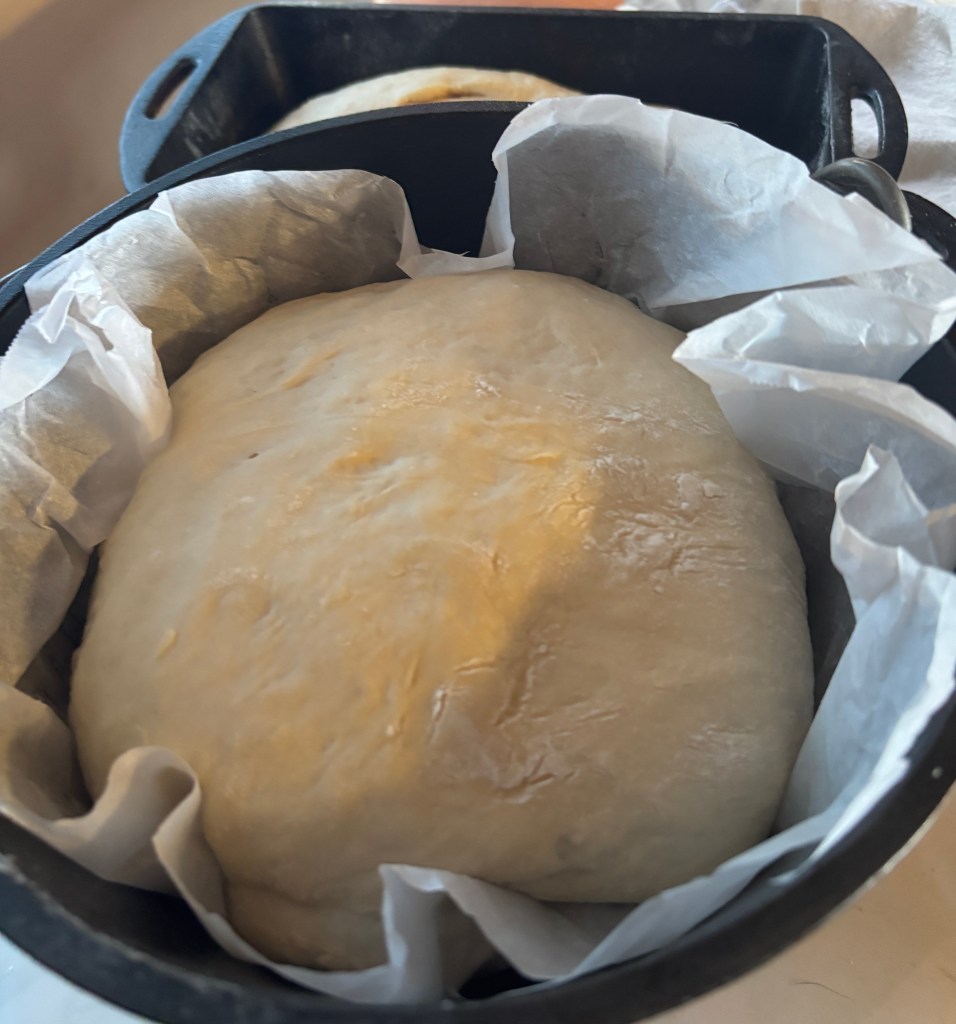
After rising there is only to cut your dough in half, shape it a bit and put it in your baking container.
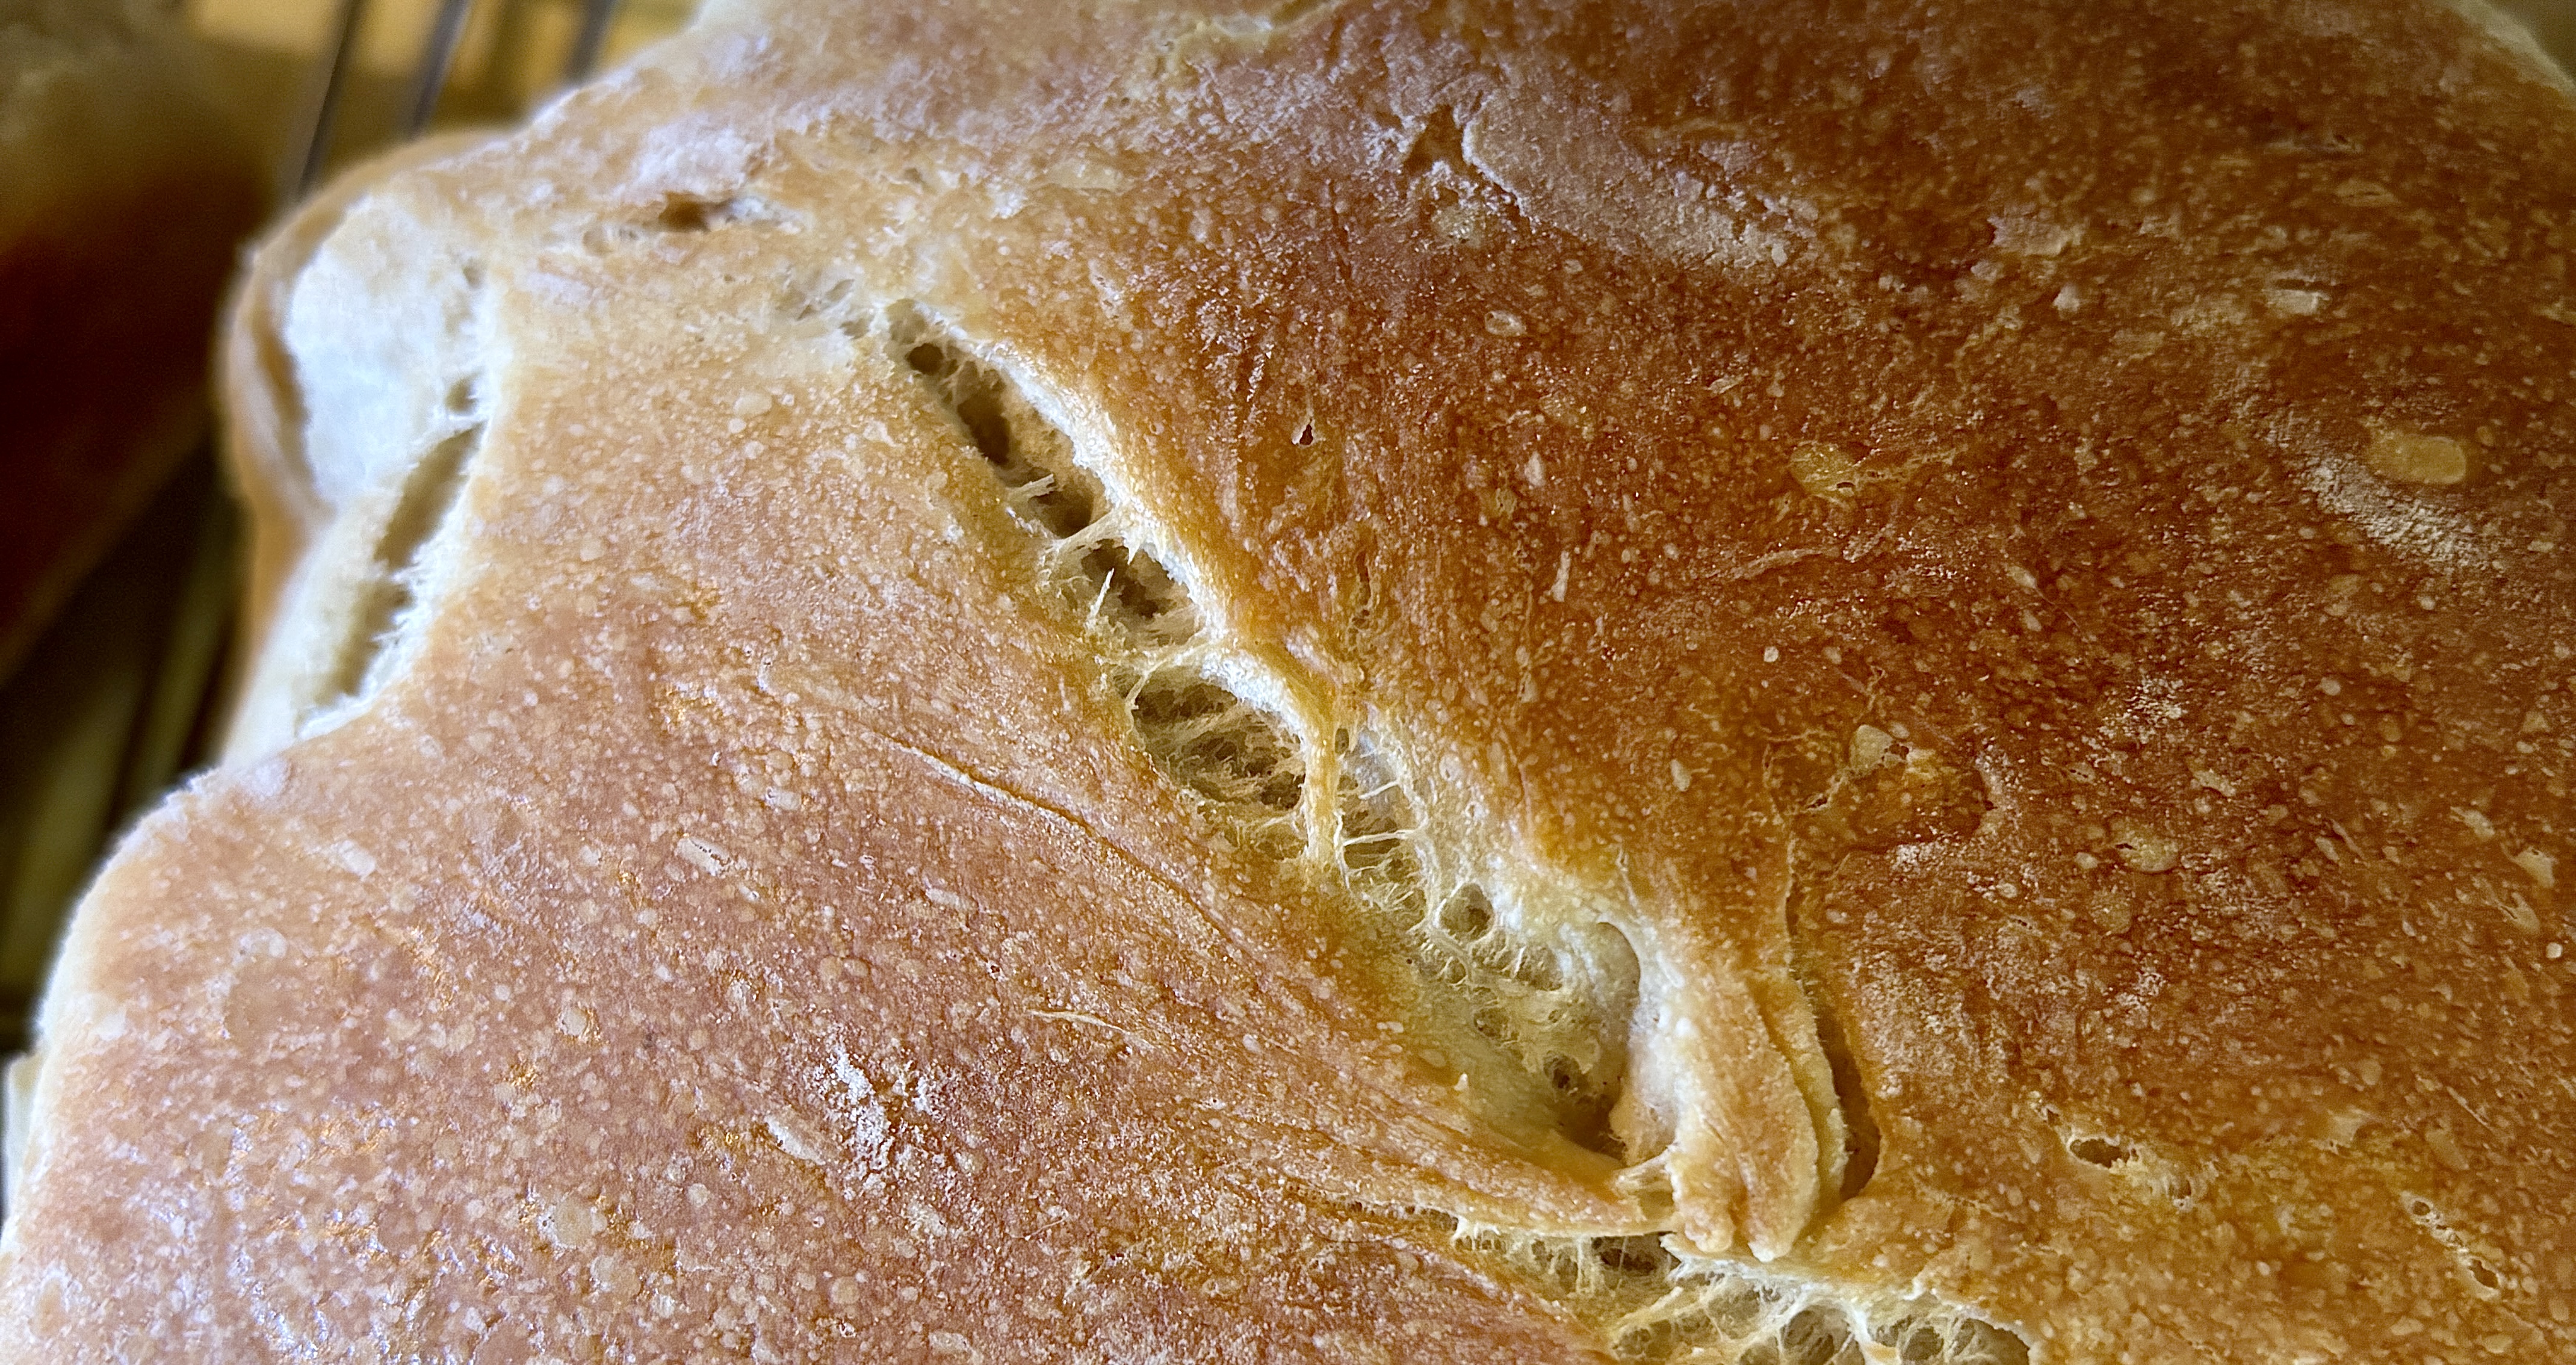
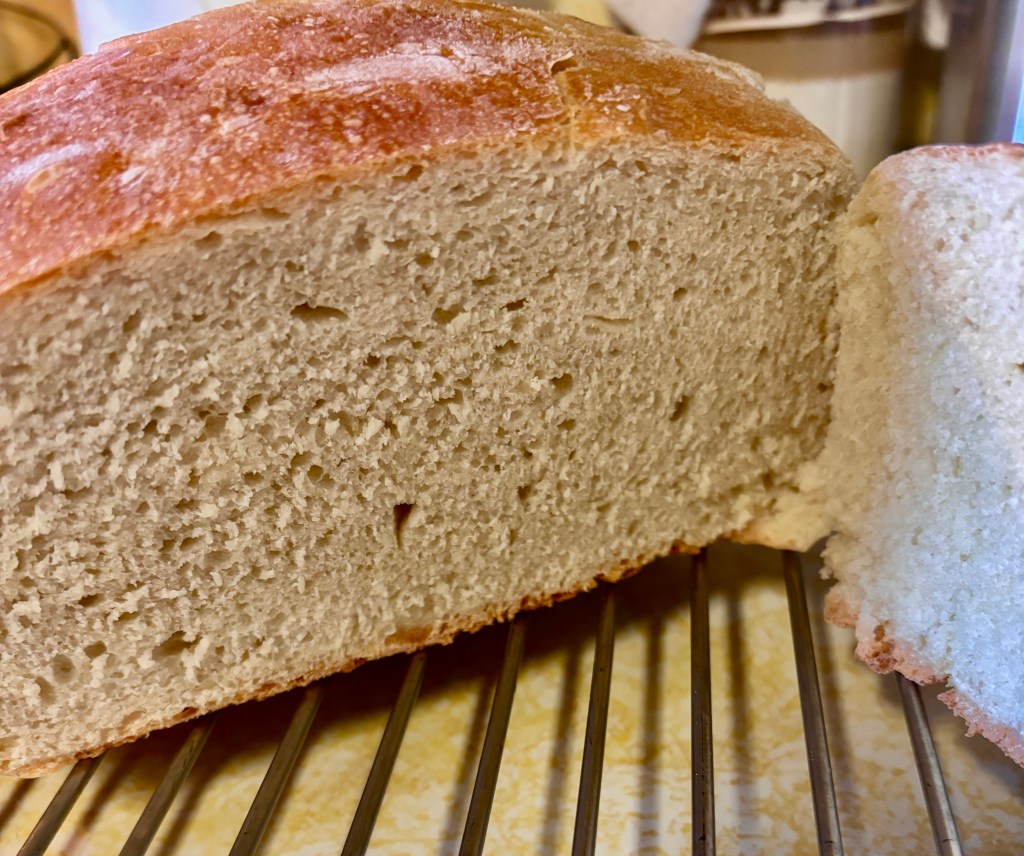
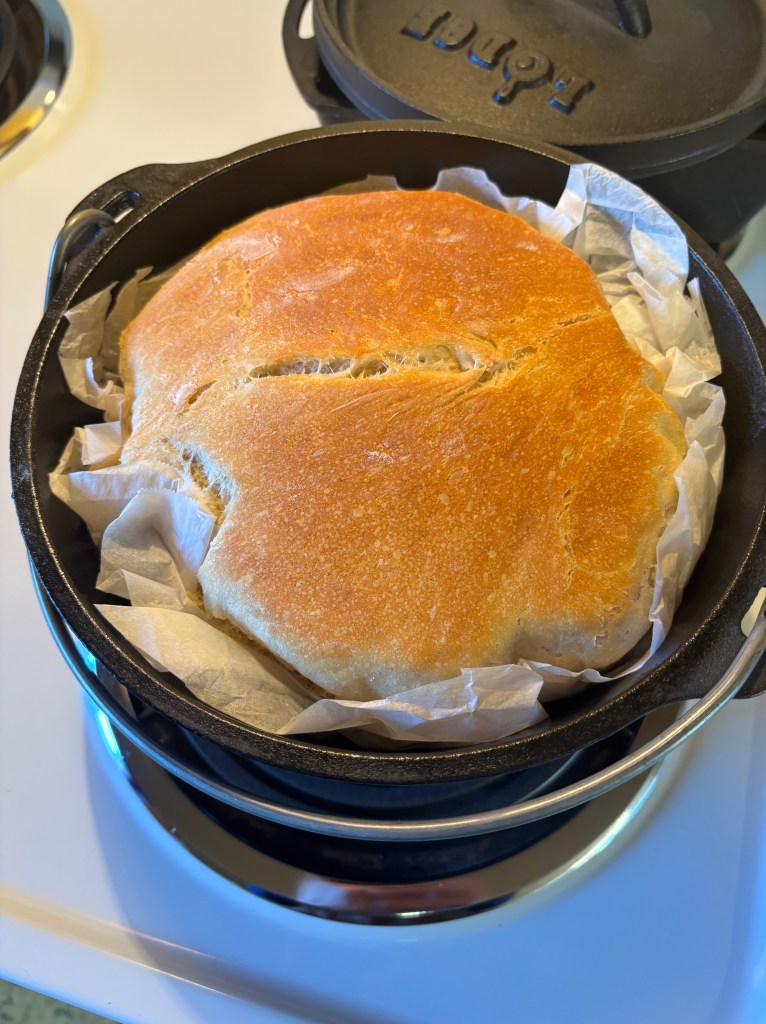
In my pictures here you will notice a more traditional loaf, as well as a round more artisan style loaf. The later baked in a number 8 dutch oven, removing the lid halfway through the heating. Im experimenting with crust….even on my first try.
Follow your cooking times, but here again, don’t be too wed to the directions. Watch your crust. You don’t want it burnt, but moms bread had a good crust on it….right!
A bit of talk about pots.
It is said that the only thing that returned with the famous Lewis and Clark multi year trek across this great nation, were the cast iron cooking pots. The cast iron pots I have are all I have left of my mother as well. I don’t think they have been used for 50 years. I had to go digging for them.
There is something about cast iron that others smarter than I can better chime in on. For the purpose of this experiment, I have tried to replicate our mothers and their bread baking.
The dutch oven mentioned above I don’t remember her using, however, I had two loaves to bake, why not experiment a bit. Mom used cast iron…..so did I.
After baking….a little longer than the recipe called for as I didn’t like the color of the crust, I didn’t see a taste difference between the dutch oven loaf and the traditional bread baking pan. The crust was thicker, more experimentation is required.
What I can report is that indeed, the texture, crust, and even flavor was much more akin to what I remember as a kid. I still think I need to increase the yeast called for in the recipes. Possibly to one and a half times recommended, or perhaps, longer rising times. I don’t know.
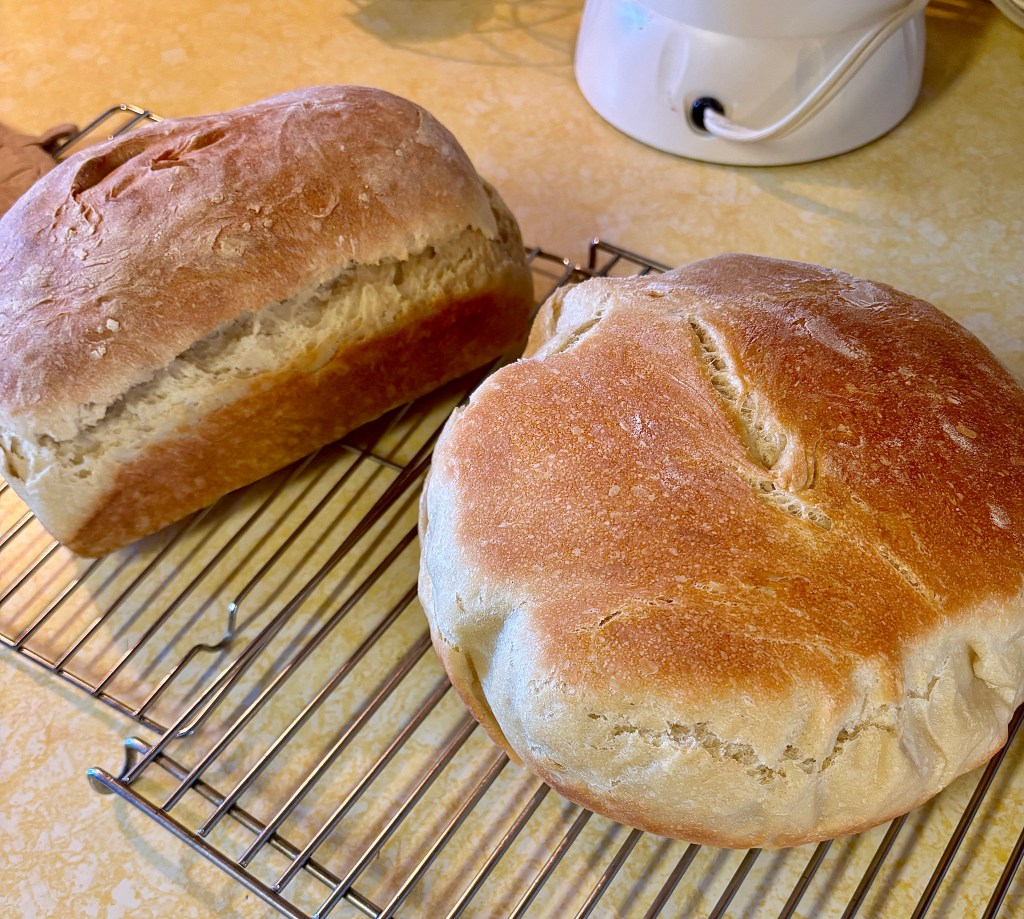
The important thing here is we can bake bread my fellow nostalgia bread lovers. After our first successful baking adventure, the second will be much easier. Hopefully my guide above will keep arguments, to a minimum and lead to a pleasant evening for both our master baker and the skeptical observer. You are building trust here.
If things didn’t go well, it will blow over in the morning and the couch isn’t that bad for a night.

